Saturday, 9 January 2010
Know Your Equipment
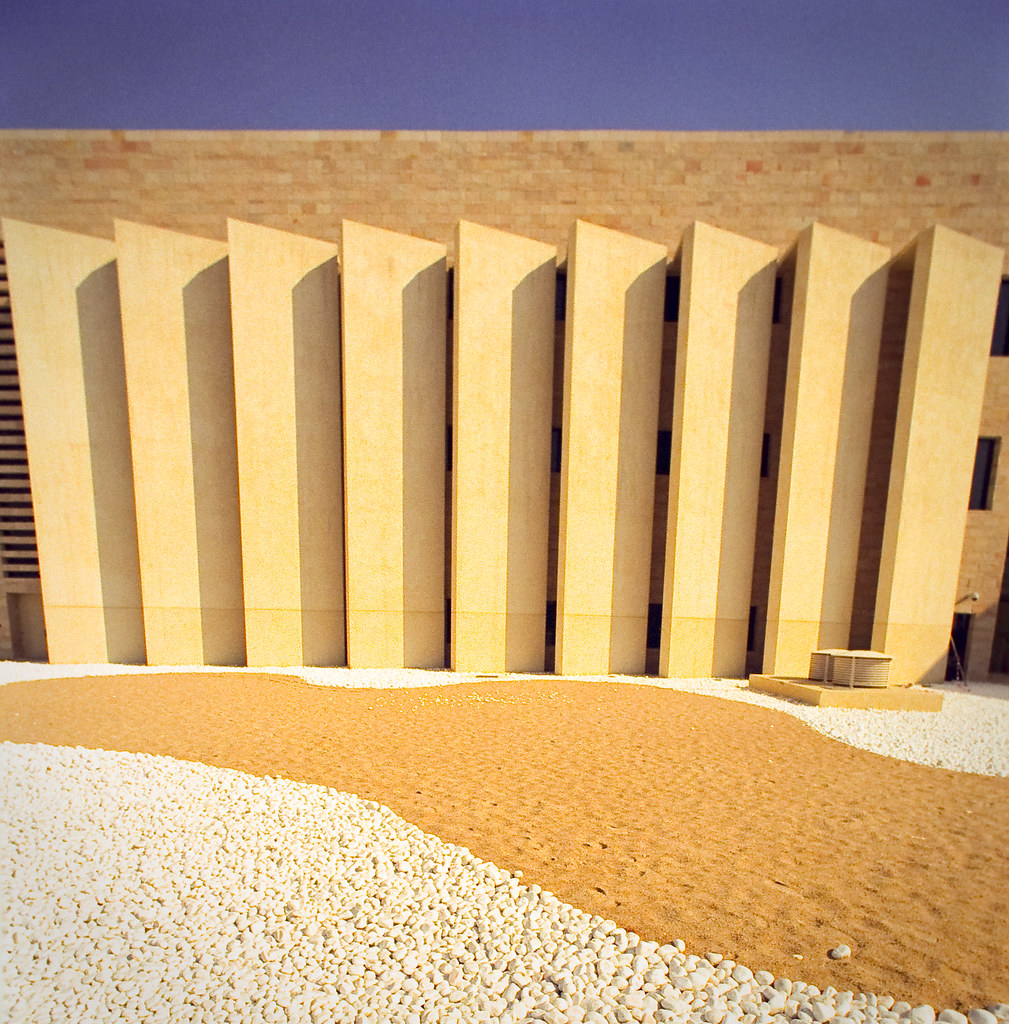
This is a picture that falls short of its potential because I didn't know my equipment well enough. I knew I would be using the one side of the frame for a "shift lens" effect.
What I failed to remember, however, is the softness this lens has in the edges and corners at wide apertures. Often this effect is unimportant because your main subject is in the centre. The top of this picture represents the outside edge of the uncropped frame and you will see that the top edges of the building and the slabs are very soft and fuzzy.
Since I knew I was going to be using the edge of the frame (the crop was planned) I should have stopped down to f8 or f11. As it is, I'm pretty sure I took this wide open at f3.5.
You can see it is not a depth of field or focus problem because the objects at all distances in the bottom half of the frame (nearer the centre of the uncropped frame) are all reasonably sharp.
In-Camera Effects
Moons with clouds are a great example of something which will never turn out given a straight exposure. An exposure that renders the moon well will not show the clouds, one that shows the clouds will show the moon as a blank white disc.
Most cameras can do a double exposure. On film cameras this will be a lever. On digital cameras it will be in a menu somewhere. For this one I took a very long exposure for the clouds and a very short one for the moon. It was done in the camera as a double exposure.
Shoot The Moon
You'll need a lot of mm! This is an uncropped photo from my longest combination which is:
Nikkor 200mm f4 AI telephoto lens plus
Nikon 2x teleconverter (to make a virtual 400mm f8) plus
D80 DX (crop sensor) digital camera (1.5x crop factor gives a virtual 600mm f8)
As you can see, the moon is still not particularly big in this uncropped shot. Looks like you'd need over 2000mm to fill the frame.
As for exposure, this is one time you will have to take over. Your camera's meter will totally blow out the moon. Just remember that a full moon is lit by direct sunlight and expose it like any other object under midday illumination.
Wednesday, 6 January 2010
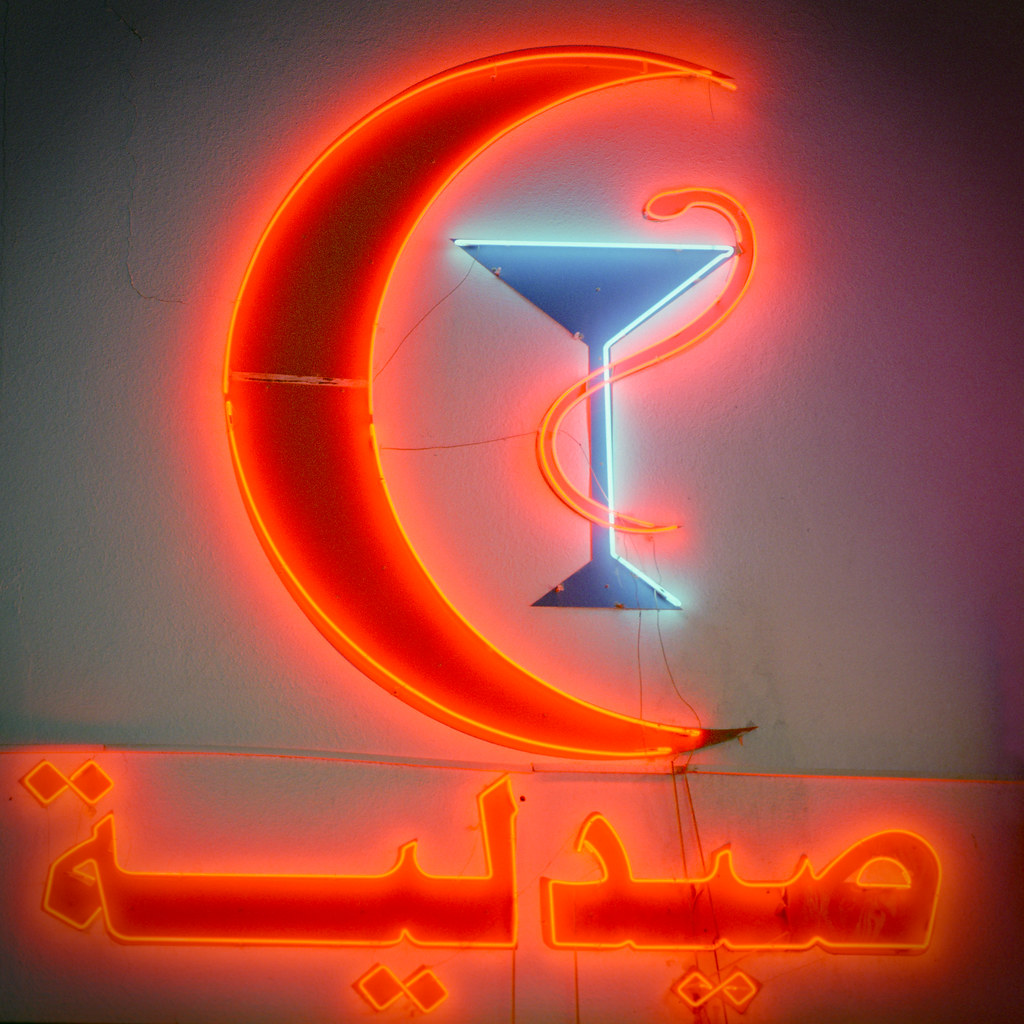
Neon!
Neon can look soooo good in pictures. The key is to choose an exposure that will not burn out the neon's colour. Negative film has a good range but with digital or slide film you might end up with neon that is white in the middle if you expose too aggressively.
Expose too weakly, however, and your neon will end up hanging in black space with no context.
If you can shoot negative film try overexposing about one stop over what the meter tells you. Negative film has a lot of range and you should retain the colour.
If shooting digital you might want to make two exposures on a tripod and combine them afterwards. Make one darker exposure to get the neon with colour and one fairly bright one to get the background. Combine in Photoshop.
I don't own Photoshop.
After Sunset
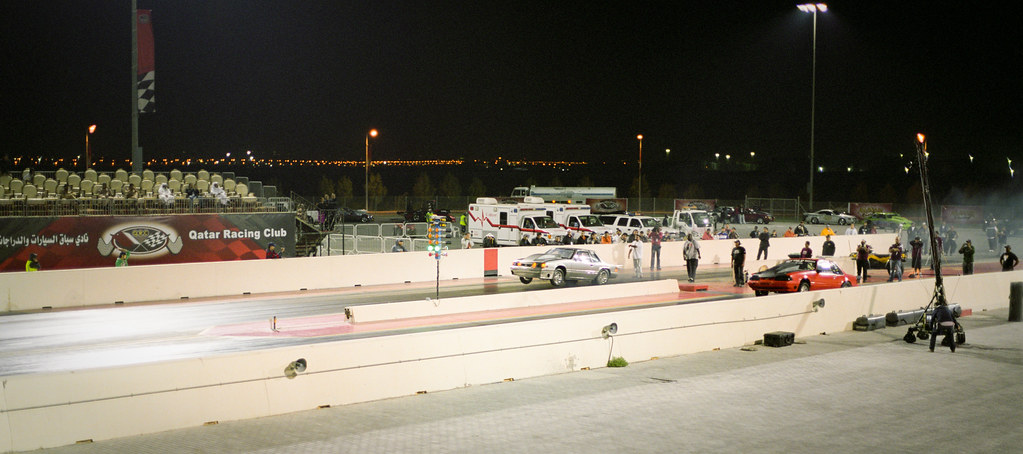
Some good pictures are possible, particularly in an urban setting, in the time after sunset before it is truly dark. Building and street lights will be on but there will still be some ambient light kicking around. It is also likely that the sky is turning a nice dark blue. This is a much better time of day for "night" shots than at night.
Never Look A Gift Horse In The Mouth
Observation And Light
Timing Is Everything
Pre-Visualise
Subscribe to:
Posts (Atom)