Saturday, 15 October 2011

What Is Special About Large Format Portraits

Stephanie Edit (Edit)
There are many things that are special about pictures taken with a large format camera. Amongst just a few of the advantages are:

1. Huge film area means a huge canvas for light to play on. Huge detail, huge tonal range, tiny grain
2. Full camera movements. Tilt, slide, shift. You choose the plane of focus. You craft the image
3. The ground glass. You see exactly what the film will see. Ability to frame exactly. Ability to judge focus and depth of field exactly
4. Uncompromised lens design.

Actually, the list goes on and on. But for me a lot of the magic happens when you put a real living person in front of that big camera.

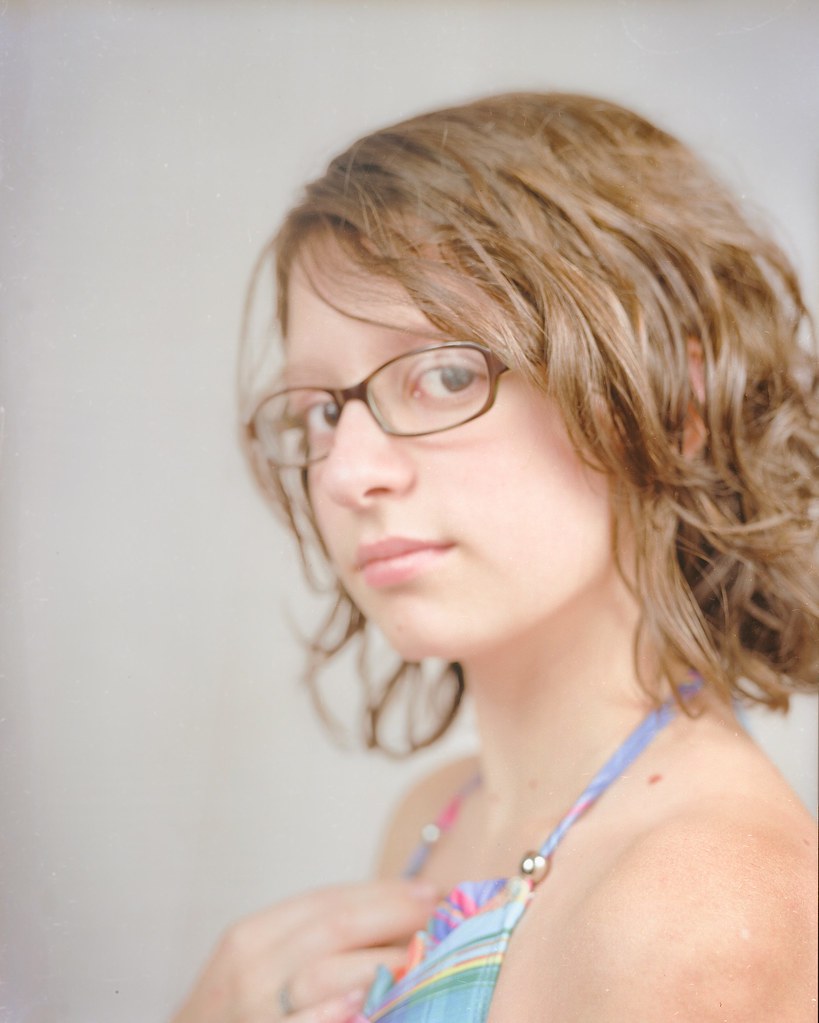
What do you see in this image? Softness and sharpness? Smooth tonality? An extra sense of reality? All of that and just a sprinkling of magic.

And this picture you are looking at is the very worst possible presentation of this piece of film. It is scanned on a terrible scanner using a very DIY technique of scanning the film in four slices and sticking them together in Photoshop. The film was even scanned still inside its plastic holder. Despite all of that the magic shines through.

Large format photography is the essence of photography and has been for more than a hundred years. The DSLRs of this world can never match it because they will never have a sensor spanning four inches by five inches. I look forward to creating more magic with this camera over the coming year.

Wednesday, 12 October 2011

Capturing The Essence

Portland Night Vista Bridge Crown Graphic (Edit)

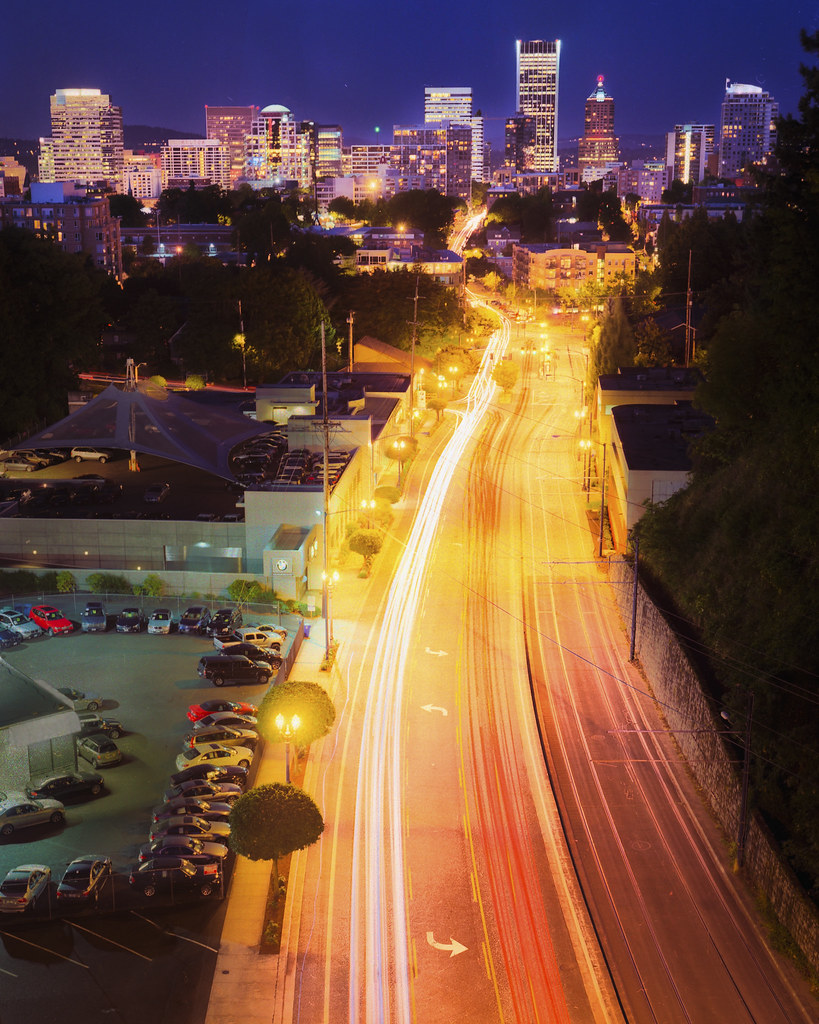
How do you capture a place? Sometimes it is easy. London? Houses of Parliment, London Eye or Tower Bridge. Seattle? Space Needle. Portland?

Hmm....

From a month's visit this was the best I managed. I was trying to get some of the more recogniseable buildings into the frame as well as some of the trees and the stream of cars heading up Burnside Road. To emphasize the road I kept the shutter open until I saw cars travel the whole length of all the visible road. To get the skyline nice I shot this just after sunset when the sky was getting nice and rich and dark blue.

Tuesday, 27 September 2011

LDR

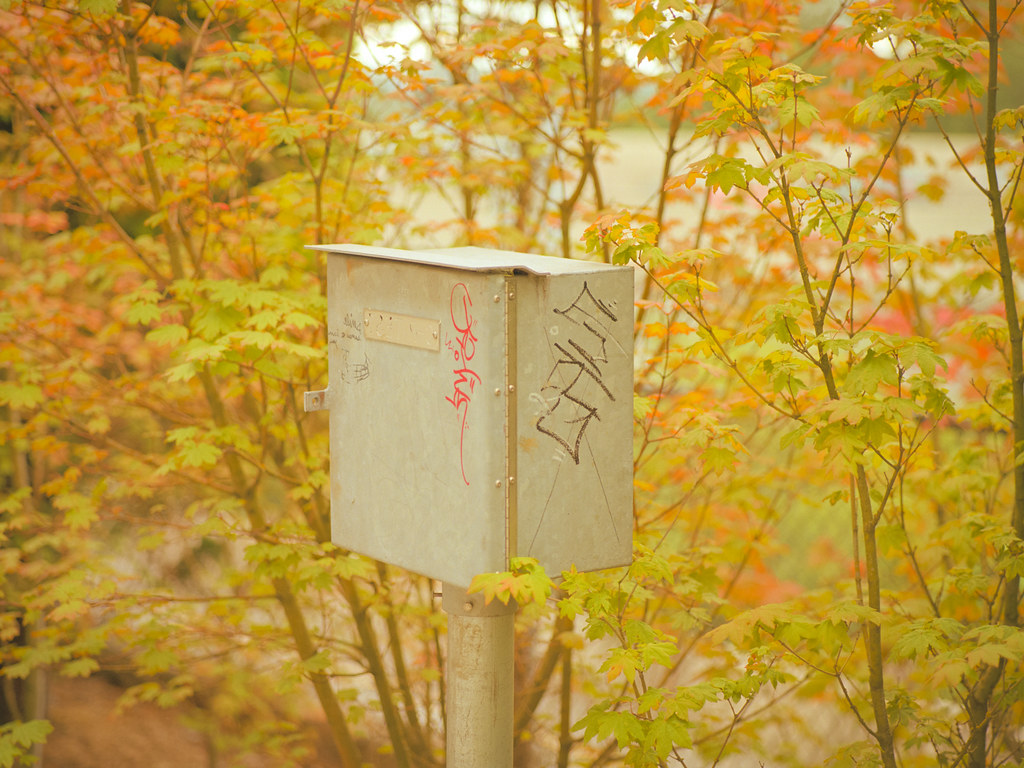
Utility Box Rhapsody

Look at these soft delicate tones. Even this ugly utility box looks magical. This is overcast morning light. Flat light. Low Dynamic Range light. Here are some more low dynamic range scenes:

Sunsets
Sunrises
Portraits
Scenes in "Golden Hour" light
Forest scenes

In other words. Most actually beautiful scenes.

HDR

Doha Corniche The Last Morning On Earth

High Dynamic Range. Sounds good, right?

This is a an example of one of the few sorts of scenes I can really imagine wanting to take that actually has a high dynamic range. This is taken straight into a glaring sunrise with the foreground in complete silhouette. It was deliberately massively, mind-blowingly overexposed so that I could retain some of that foreground detail which, honestly, it would have been difficult to see clearly with my own eyeballs in that light.

Most scenes that are high contrast are unattractive and make bad photographs. These sorts of scenes usually look ugly in real life so it is the height of optimism to expect them to magically look great in a photo. In cases like the above where a scene has very high contrast but DOES look good we normally want to convey that high contrast feeling in the photo. This usually means letting a foreground darken to a black silhouette or letting the brightness of the bright parts burn to white.

Most HDR photographs that are successful celebrate the unreality that usually comes from excessive use of HDR software on massively high dynamic range scenes. This is, in fact, it's own artistic style. It's not a style I like but it certainly has quite a following.

I mostly shoot negative film. This capture medium has the capability to capture huge dynamic range in a single exposure. It also has very good properties at the extremes of its range. It "rolls off" organically (like our eyes do) and never "clips". This particular film, Kodak Ektar, may be the highest dynamic range capture medium on the planet which is why there is so much detail available in this crazily over-exposed scene. But most of the time, this extra latitude is best used to remove the worry about missing a shot through incorrect exposure. I do shoot carefully but with negative film I feel an extra confidence that when I press the shutter the shot is in the can.

Thursday, 18 August 2011

First Thoughts

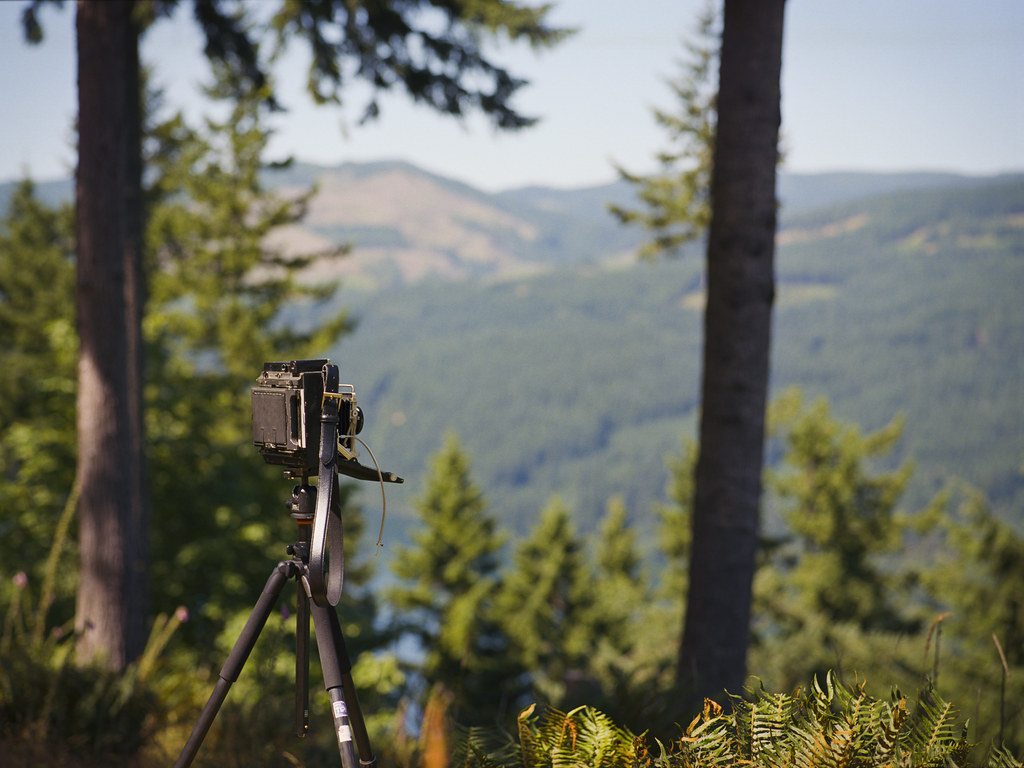
Crown Graphic In Natural Habitat Coolscan

Photographs are like stories, music or dreams.

There are some that wash over you. You grasp them as a whole. They produce a mood and you are not aware of how or bothered by this.

Some photographs, however, invite you in. They are rich in detail and promise more. You want to count the trees or people or threads. You want to see into all of the little windows. You want to roam around that distant meadow.

Both of these types of photograph are important. Any camera can take the first type, although these can also be the most difficult and rewarding type of photograph to take. As humans, however, we are ever aware of our limitations. It is this second sort of photograph that taxes equipment and technique. You simply cannot put more in the finished picture than you captured at the vital instant. The traditional answer to this has always been bigger film in bigger cameras.

As such, I am now the owner of a Crown Graphic 4x5 inch press camera. This is the camera that you always see the news photographers in hats shooting in old movies. With more than fifteen times the film area of 35mm you can shoot the equivalent of 300 megapixel images given good modern film and decent scanning. In addition to this you have a more flexible camera which can use movements to bring more of the image into focus at once or to correct perspective.

So what is the flipside of all of this potential and possibility? Complexity. And this is also where the Crown Graphic really sells itself to the artistic photographer. In exchange for less flexibility than most "serious" large format cameras the Crown Graphic gives you a lot of convenience and assistance. For example, the camera can be set up in seconds since it becomes its own carrying case when folded up and has adjustments that allow you to quickly set up the camera "zeroed" and focussed at infinity. After all, this camera was made to be used handheld and often in fast-paced environments.

So how has this camera changed my life and my thinking? It has made me think. It has made me think about exposure. It has made me think about composition. It has made me think longer and harder on the question, "Is this shot worth taking?" It has opened my eyes and mind to the optical magic that lies at the heart of every camera but is usually hidden. The ground glass of a view camera is like a magic window. Through its frosted surface we glimpse dimly the very inner workings of light. All is laid bare, nothing hidden. We see the world backwards and upside down, just as the film sees it. We see at once the effect of every slight shift or tilt or swing.

We learn faith. As we take responsibility for our own film loading and unloading. As we take responsibility for our own exposure settings. As we take responsibility for dark slides, shutter cocking and correct sequences of events we learn the necessity of a certain discipline and of trusting in that discipline to deliver the desired results.

Monday, 8 August 2011

The Feel Of It

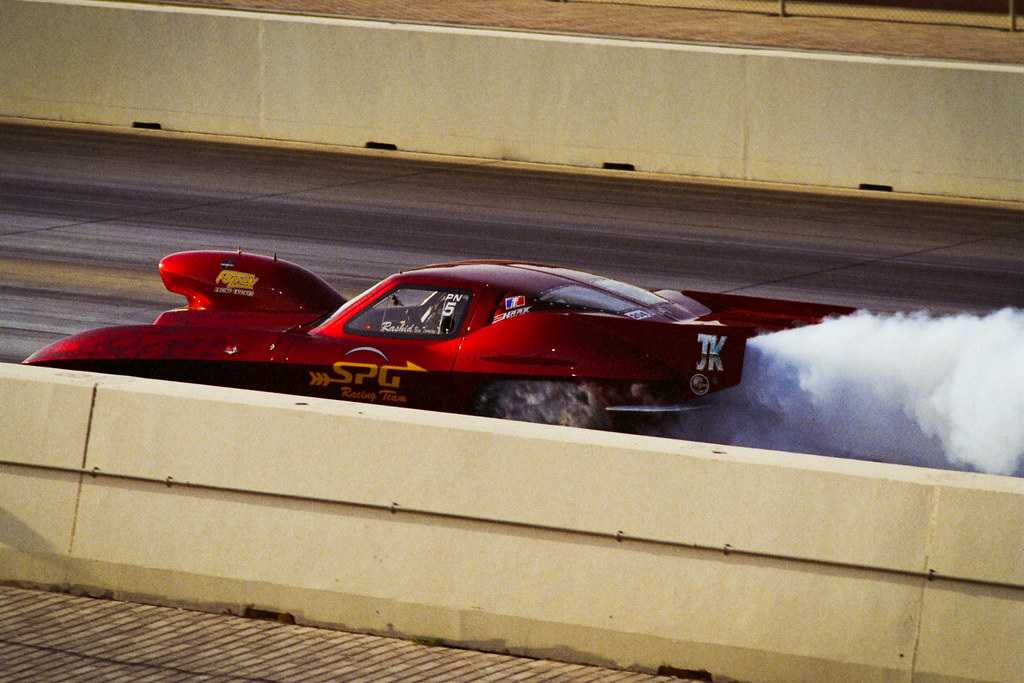
At The Races Again III

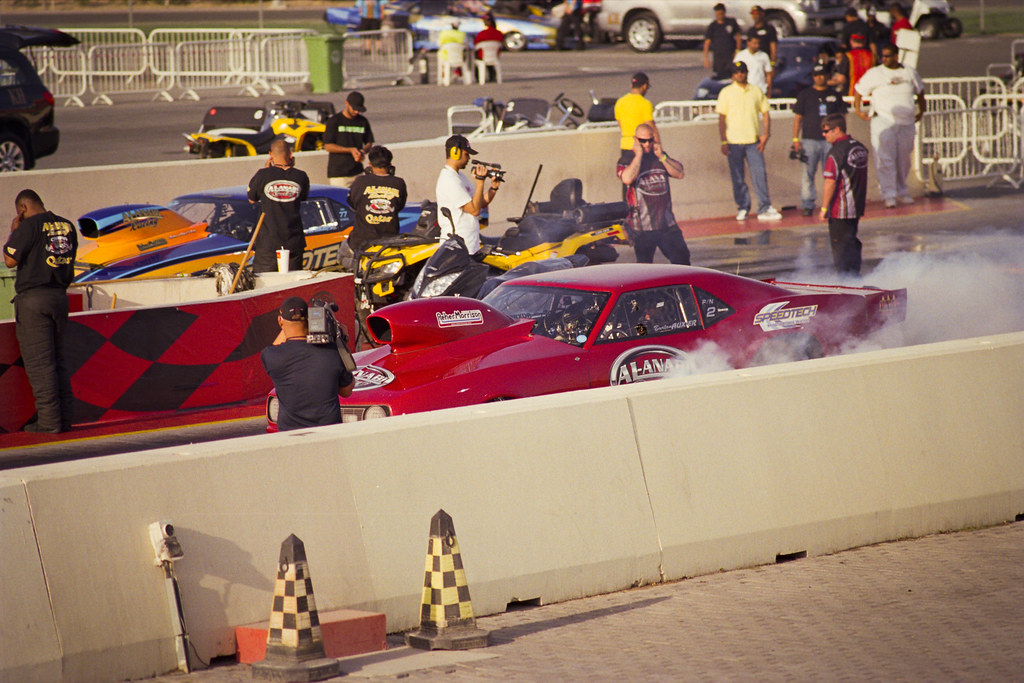
This is a good example of telling the story with something that illustrates the event better than the real thing. This is a great illustration of a drag race. However, the cars don't burn rubber like this in the race. This is actually the tyre-warming burnout.

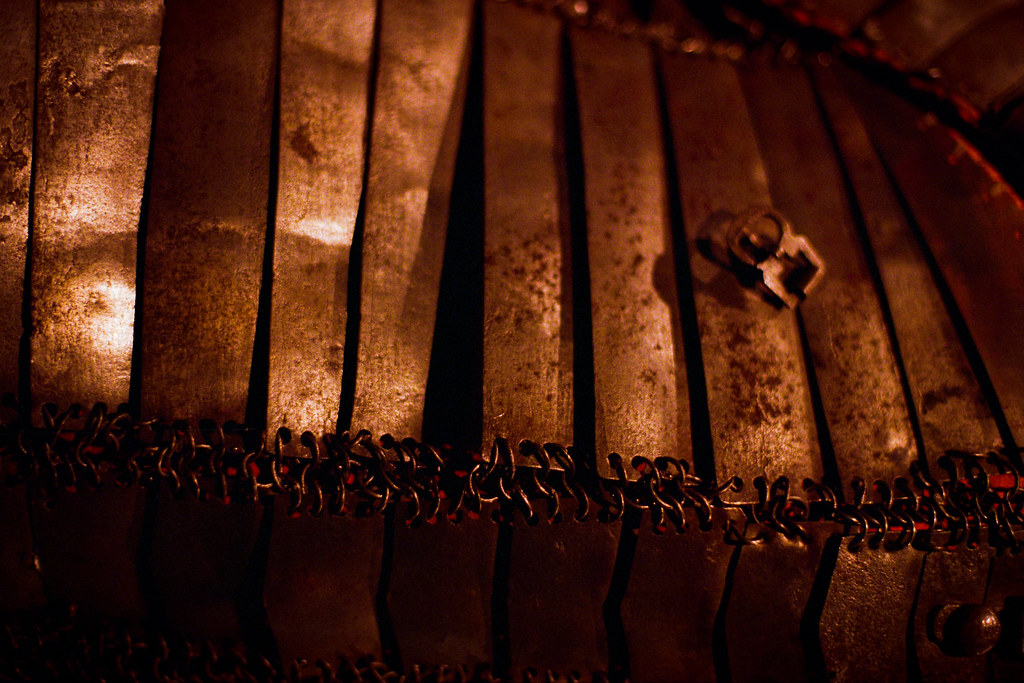
Chopping Off Heads

MIA Treasures XIII

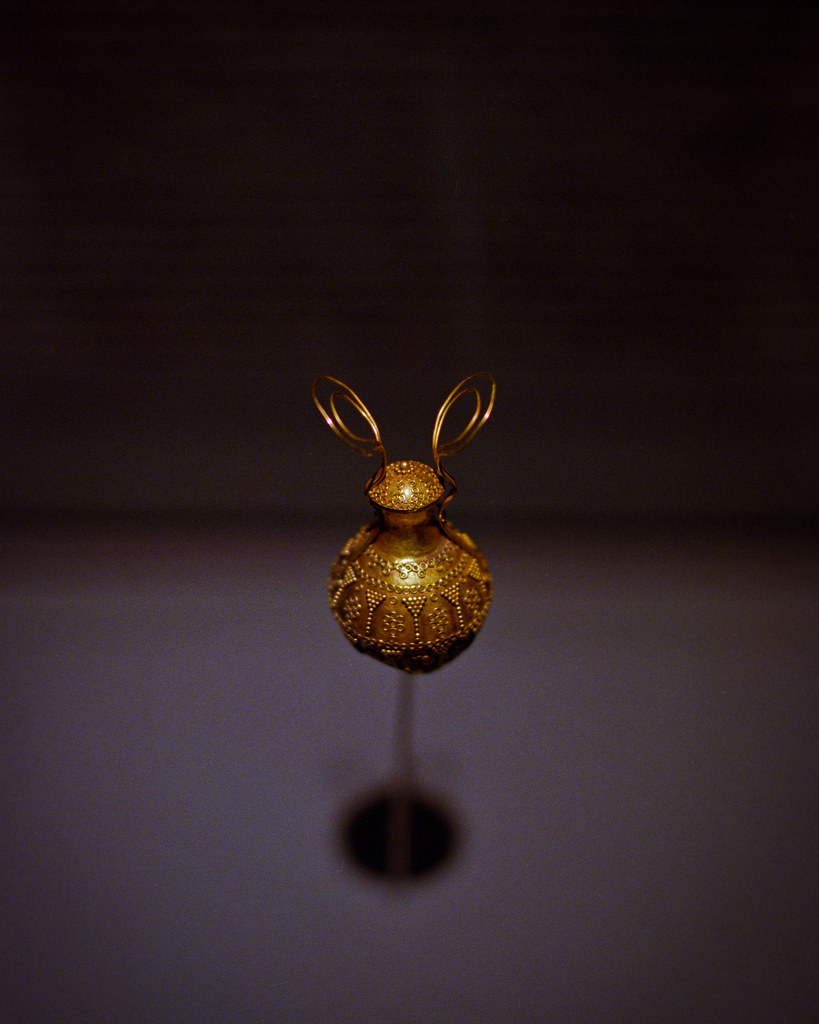
What your father told you was wrong. It is perfectly OK to chop people's heads off in photographs. In this picture of a mounted warrior on a war horse I have isolated only a very small portion of the front flank of the horse's armour.

Isolation

MIA Treasures VIII

A general rule of thumb is that you want to fill the frame with whatever is the subject of the photograph. Like all rules, there are exceptions. Here the isolation is illustrating the small size of the object and the bleakness of the surroundings. This is effective and possible mostly because there are no distractions in the surroundings.

Saturday, 30 July 2011

The Miniature Effect

MIA Treasures III

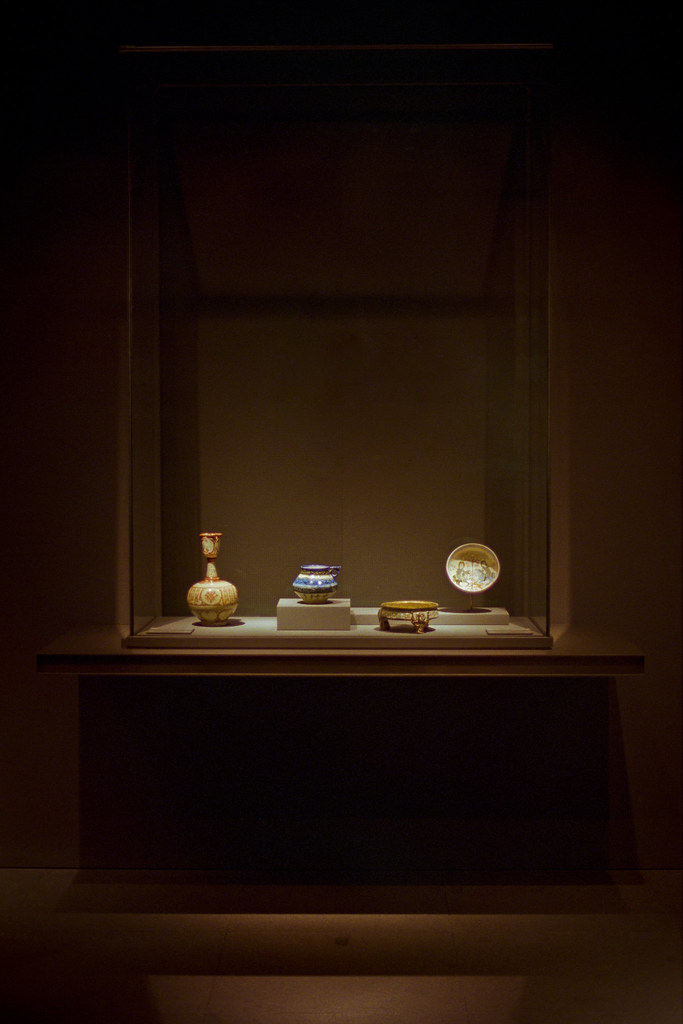
Photography is an art of exclusion. This is something I have said before. But you exclude in order to focus attention on whatever it is you are trying to show.

Normally, having the subjects be this small in the photograph would be a good way to lose them. However, part of what I am showing is how much the subjects shine forth in their surroundings. Although they are small in their surroundings their surroundings offer nothing which competes with them. They are a little like the stars in the night sky.

This is another situation, of course, where you must rule the camera rather than let it push you around. Most cameras will want to overexpose a scene like this because the camera can't know that the scene is supposed to look dark and that the few tiny bright things are actually the subject.

Also, note that although there is an awful lot more in the frame than the subject none of it detracts. Subtly, in fact, the surroundings frame and contextualise the subjects.

White Balance

30 Years!

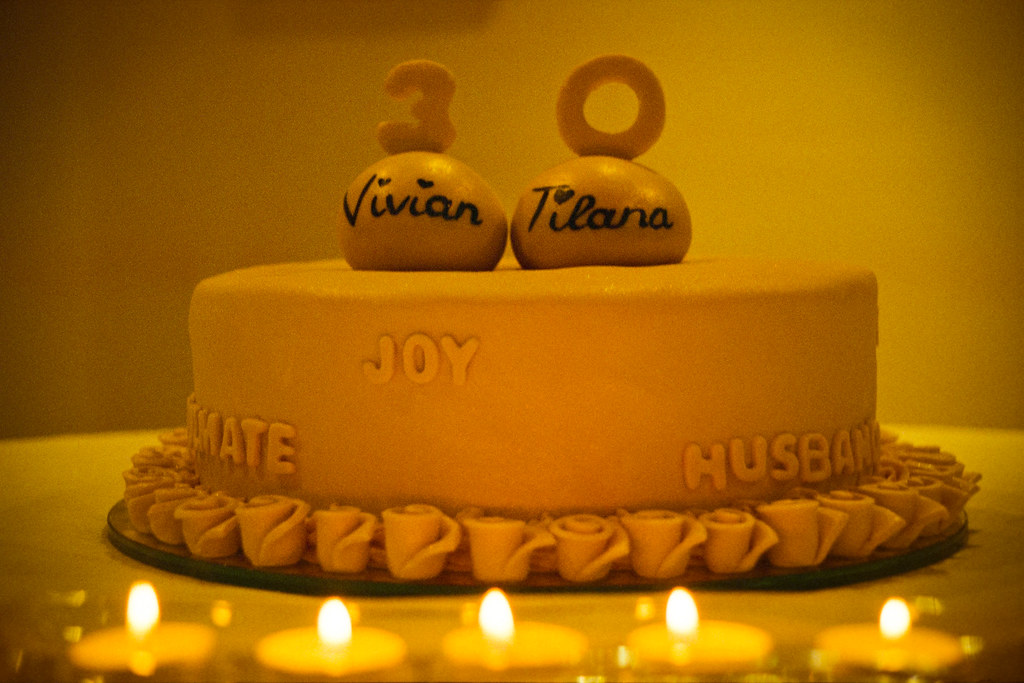
Once upon a time people shot pictures using a chemical process called film. If you wanted to alter the white balance you either screwed a colour correction filter onto the lens before taking the picture or you used a different film that was balanced for "Tungsten" (for indoors) rather than "Daylight". Because both of these steps are somewhat inconvenient most non-professional photographers simply didn't. They shot everything on daylight film. This is the equivalent of setting your digital camera white balance to "Sunny" instead of "Auto". Guess what, lots of great pictures were taken!

Different flavours of light have different characters to them. Most can be pleasant (apart from flourescents, which often look green and unpleasant). Auto white balance will attempt to turn all of these light sources to "white" and is a leading cause of photos looking sterile and boring.

Here is an example of one of the "warmest" light sources commonly encountered -- candlelight. But this very warmth is what makes things in candlelight so beautiful and warm and comforting to behold. The daylight balanced film used here has fully captured that warmth.

When I do shoot my digital camera I almost always use daylight white balance rather than auto. I can't remember when I last changed that setting. And the digital pictures almost always look great in every light. And gone are the days when two photos taken seconds apart look completely different thanks to auto white balance making a different white balance "guess" each time.

Monday, 25 July 2011

The Scene

Kick-Ass!

An event happens over a span of time.

A picture freezes a moment in time.

How do you choose a point of view and an instant that tells the story of the event?

Find A Detail

In The Museum VI

Painting is the art of inclusion. You start with a blank canvas and you include the things that will make your picture.

Photography is the art of exclusion. You start with the world and you exclude things until you have a picture that says something. If it is not helping your picture it is hurting it.

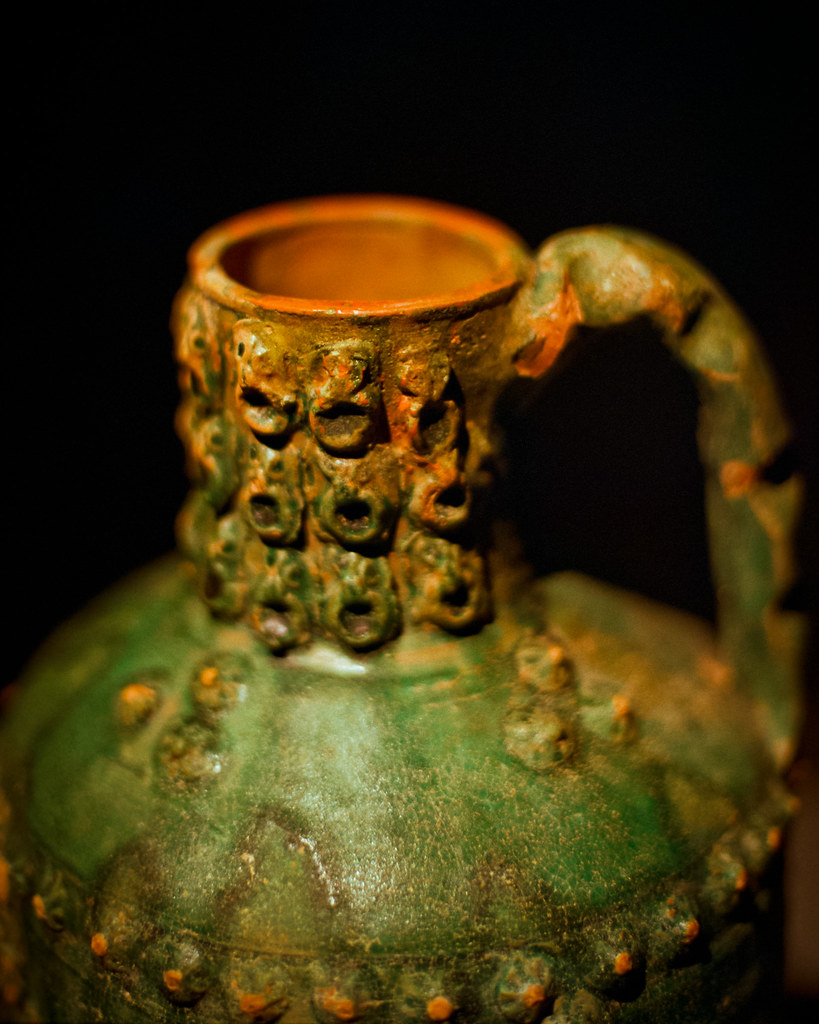
This urn was very nice but the striking part about it was the design around the opening. If I had shown the whole urn my picture would not have been as strong.

What Does Your Camera Know About Exposure?

In The Museum III

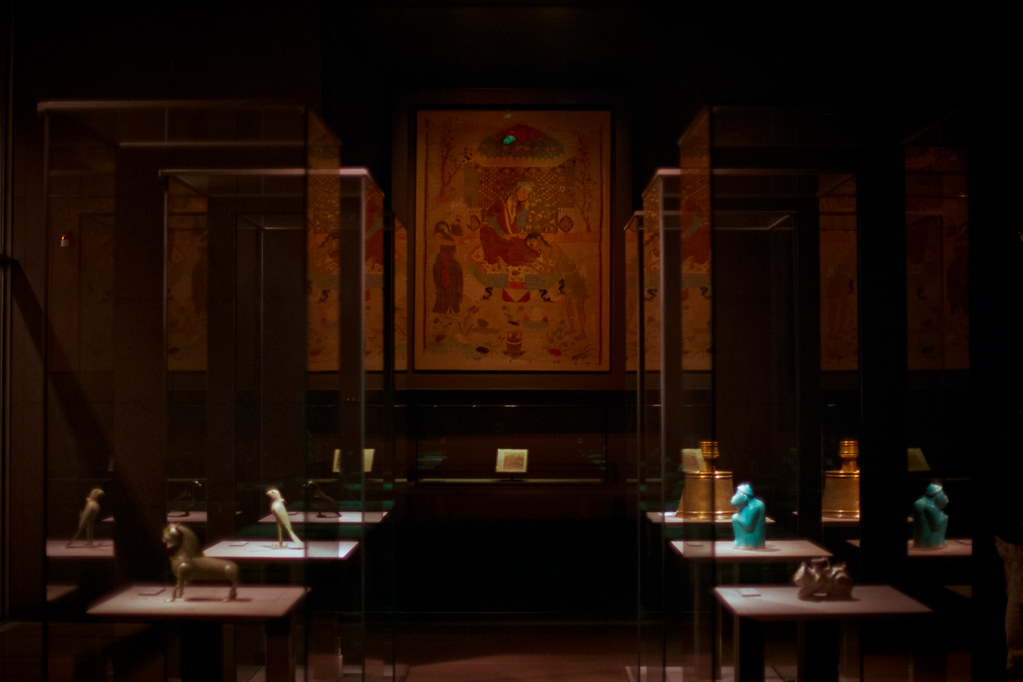
This is typical of the sort of scene that a camera on auto will get wrong. And if it is a digital camera you can bet that the bright parts will go to detail-less white.

Look at this scene. It is mostly dark. It is a dark room. It is supposed to be. But how must the camera know? It can't.

The simplest way to deal with this situation is with a control that all cameras will have which is called "Exposure Compensation". It is usually marked with a "+/-" marking. If you find that you are getting a too-bright picture in a scene like this and losing the bright parts simply hit "-" a few times and take the picture again. Don't forget to set it back to "0" when you are done!

How To Make Big Look BIG

BIG WHEELS

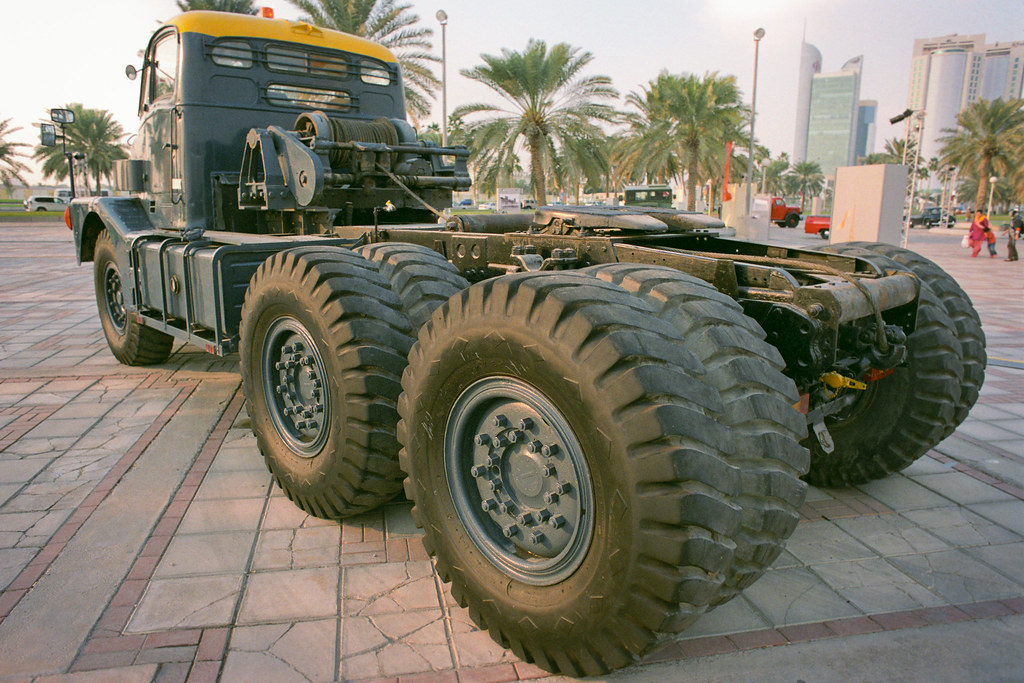
This is a really big truck. But it could easily look small in a picture. I have used two techniques here to make it look big. One is to fill the frame. The other is to use a wide angle. The number one reason why things look smaller in pictures is a mistaken urge to "get everything in". You must decide what a picture is about and ruthlessly exclude the things that don't serve that. Wide angle lenses make things look bigger because you shoot things from a shorter distance. Standing far from things will make things look distant, even if you fill the frame.

Sunday, 17 July 2011

Cel - A - Bra - Tion

Qatar National Day Sheraton Fireworks

How to show an event?

It's not the way you would think.

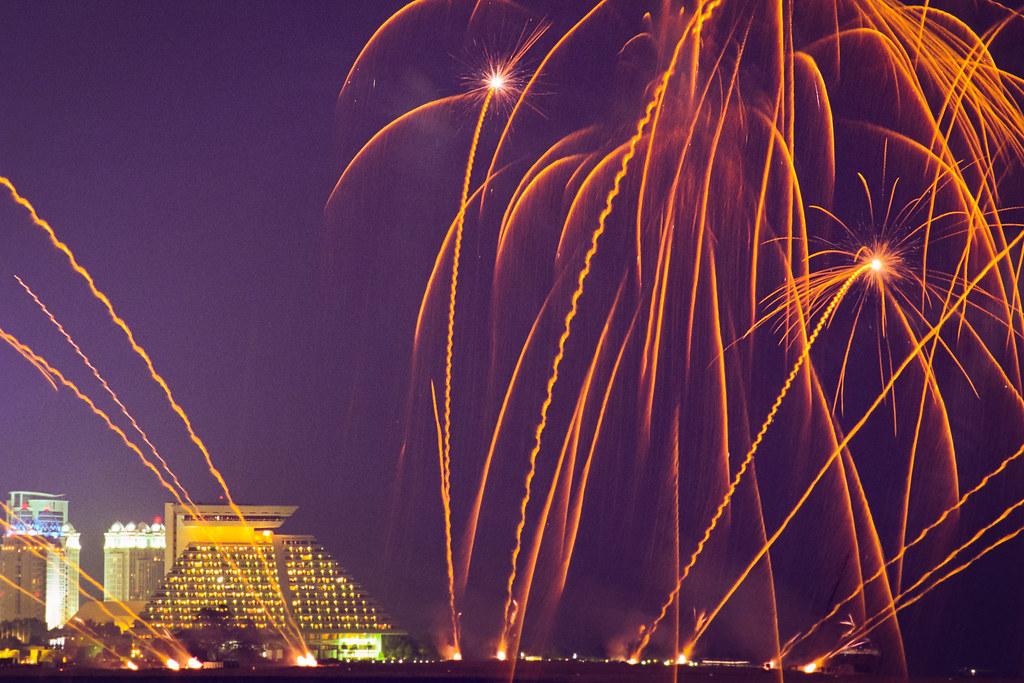
I always bring a wide angle to the fireworks to capture the event. Almost always my best shots come from a telephoto.

This picture works because it tells the story symbolically. There is a miniature version of the fireworks display here. Enough to say "fireworks". There is also the Sheraton hotel which is a major Doha landmark.

Together they tell the story better than any of the "get it all in" shots.

Colour Photography Is About Colour

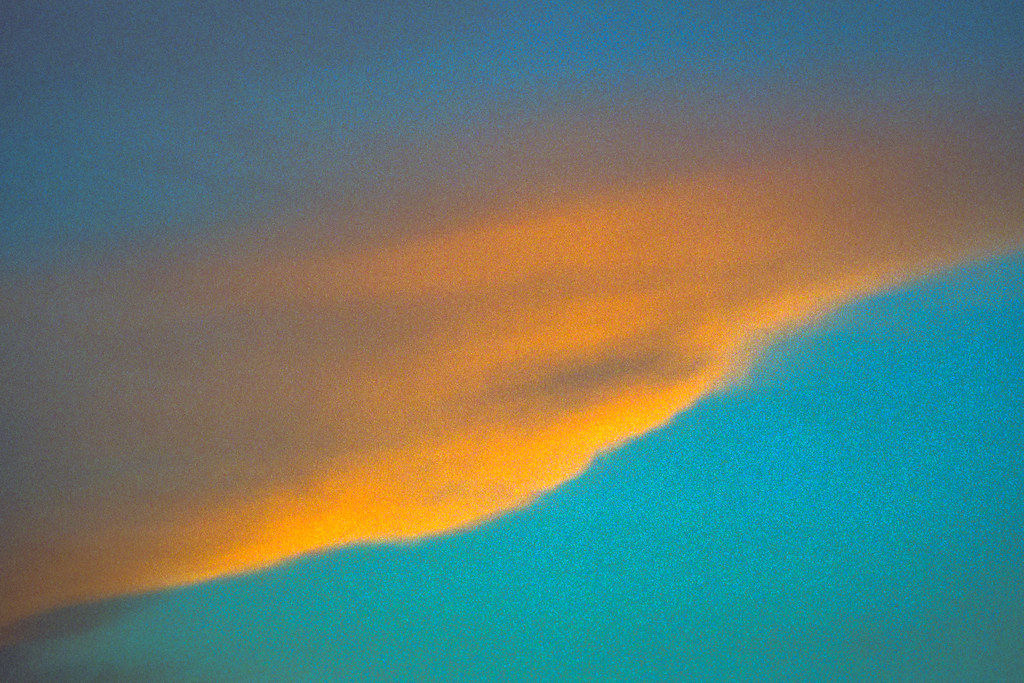
Pure (Orange and Blue)

I think this picture says that better than any words. Yes, this is a cloud. But the picture is all about the colour and the texture.

What Is Your Point Of View?

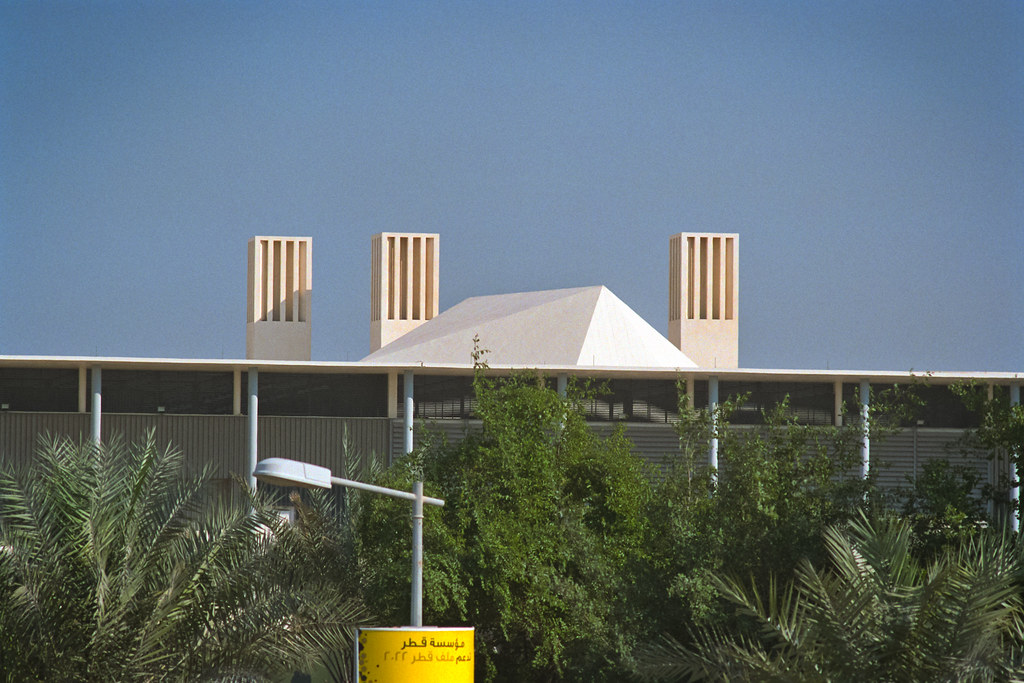
WCMC-Q View

It gets harder and harder to take an interesting shot at my work. This is a common problem. Most of the most beautiful locations and buildings have been photographed countless times. People are still ready, however, to see them in a new way. The secret to this is not a new camera, a new lens or a piece of software. Find a new perspective.

Sunday, 3 July 2011

Always Be Open To Awesome

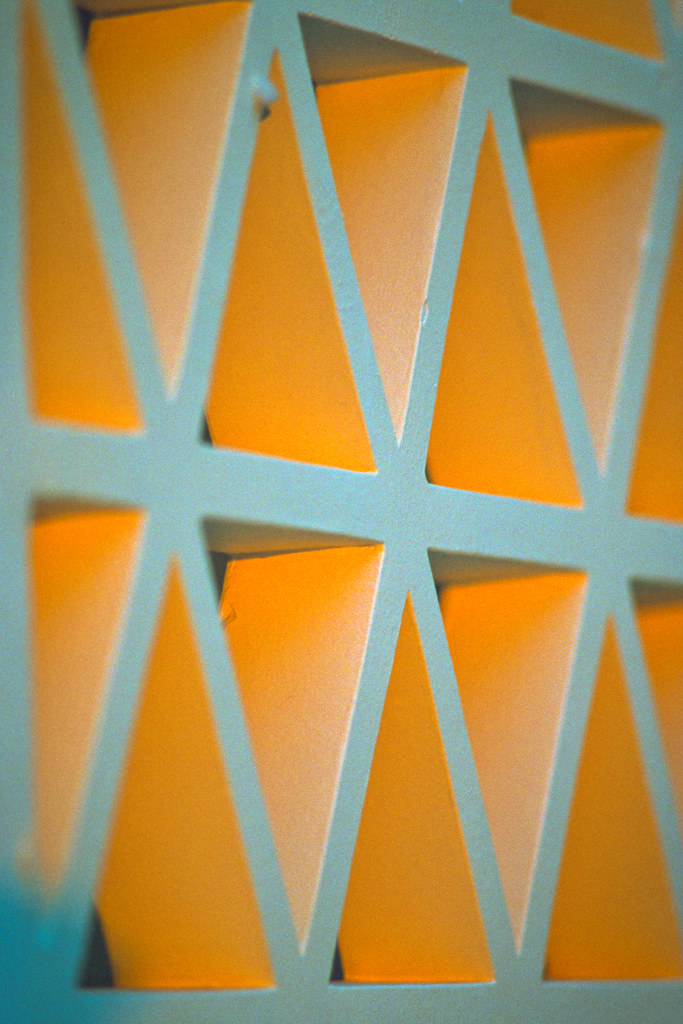
WCMC-Q Sunset Abstract

As I look at this photo again it struck me just how often the amazing is present in the mundane. This was the result of a particular moment in a particular sunset at a particular time of the year. It was probably there to be seen for a few minutes. The picture came from seeing what was happening as it happened and being prepared.

Friday, 1 July 2011

Look For Something Special

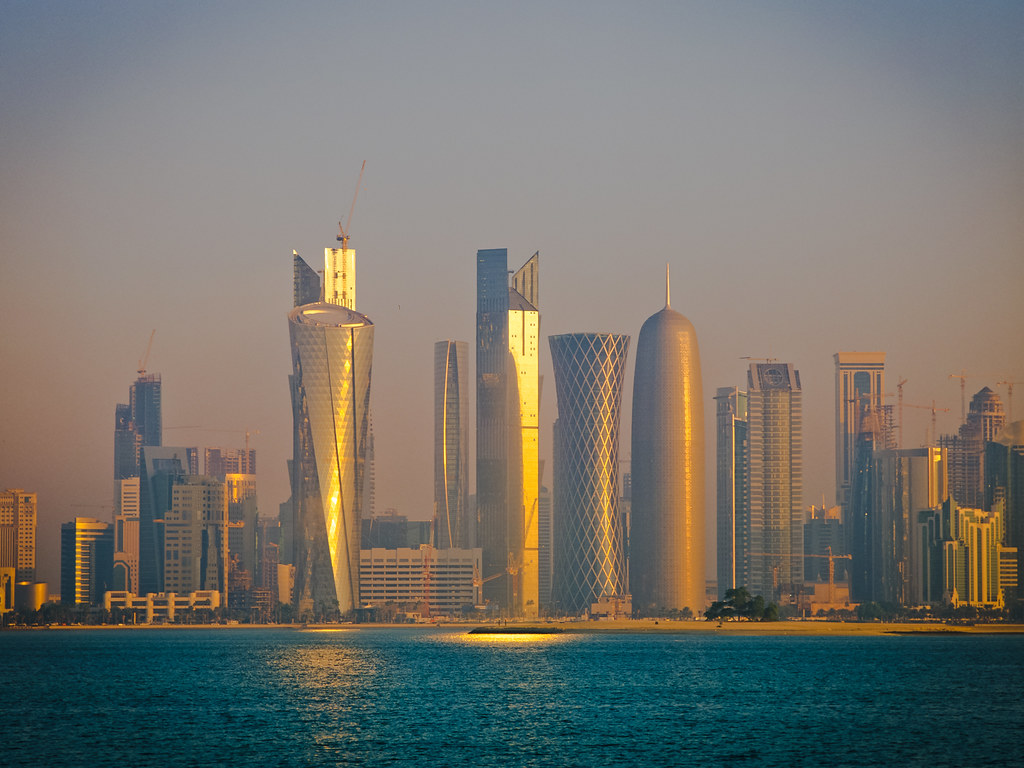
The Dawn Doha II

Look at the reflection on the water from the building in the middle. Show people something they don't see every day.

Wednesday, 22 June 2011

Say More With Less

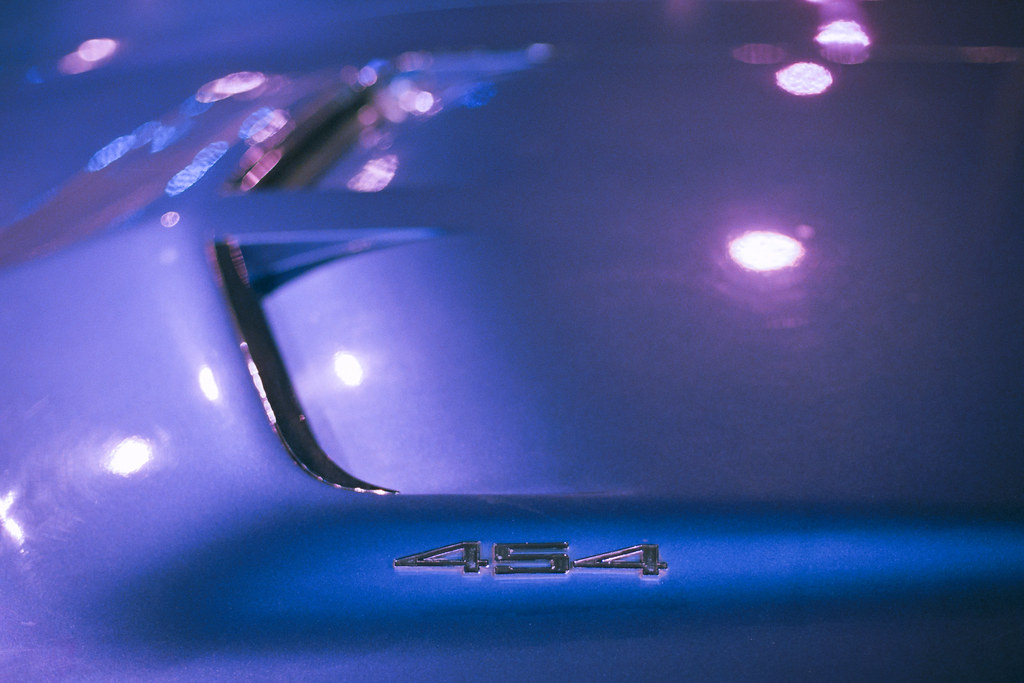
454 At The Car Show

It's a big block Stingray Corvette. But then, if you know what one looks like you knew that...

Monday, 20 June 2011

The Path That Leads To Glory...

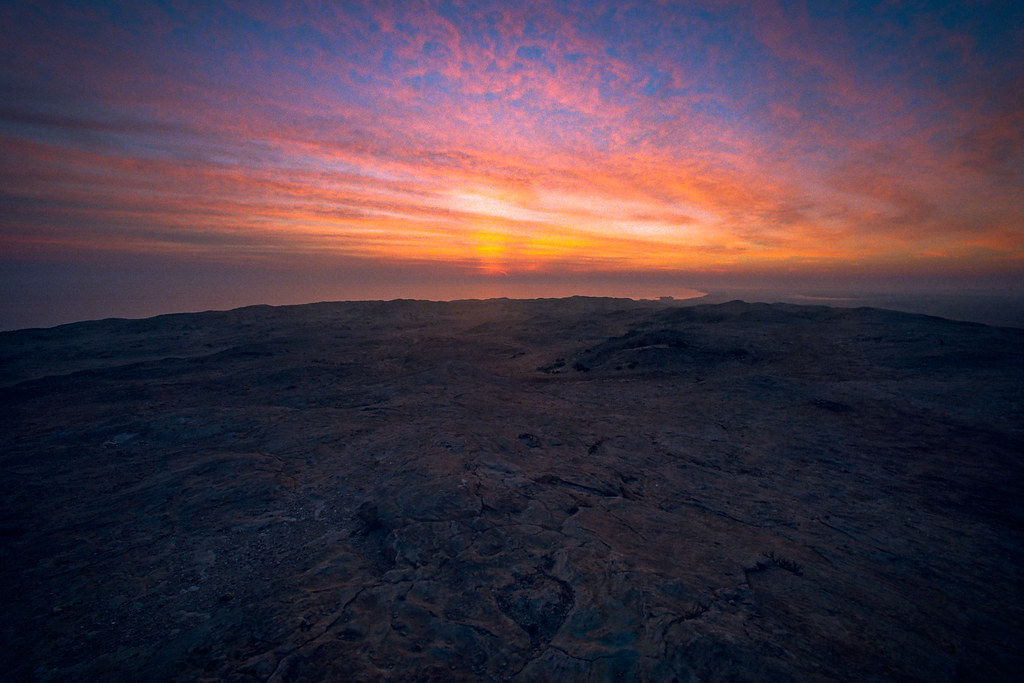
Earth And Sky Fuwairait Dawn

...It is a rocky path. It leads to a narrow gate. Run to it!

Sunday, 19 June 2011

Are You Ready?

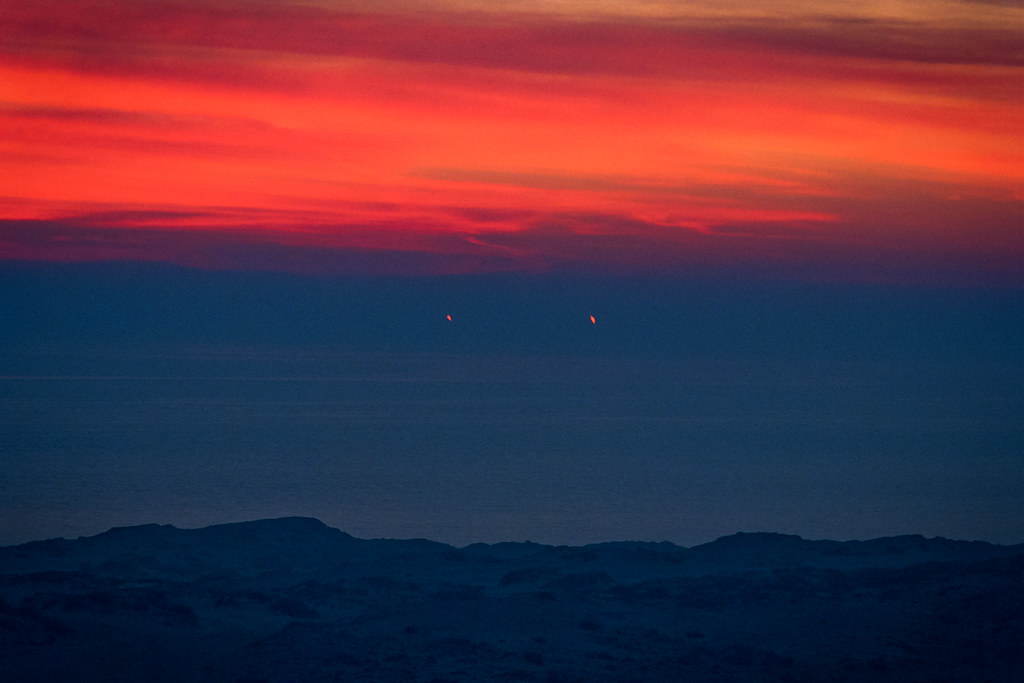
Fire In The Sky Fuwairait Tight

Maybe you go to the beach a hundred times and see nothing. Maybe. On that morning when God's splendour shines forth, will you be ready?

Be ready.

Saturday, 18 June 2011

The Best Camera

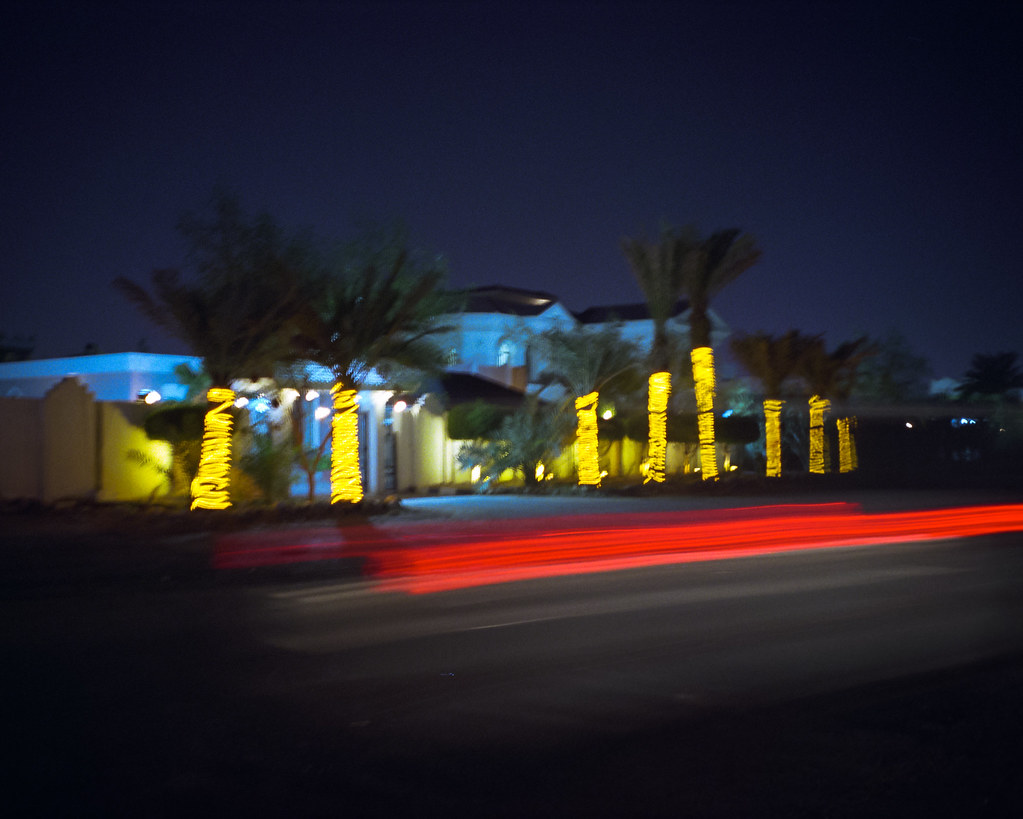
35EM Lit Palm Trees and Passing Car

It's the one you have with you!

Wednesday, 15 June 2011

Decay

35EM Haunted Parking Garage Foot Wall

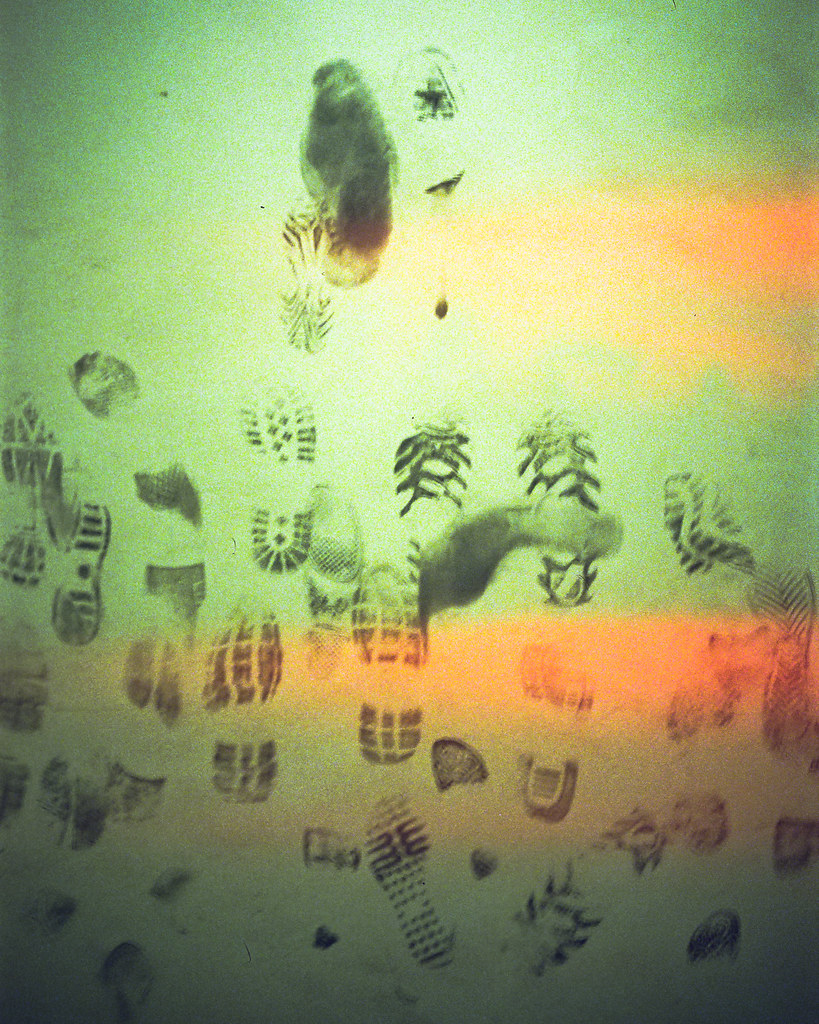
Sometimes beauty is found in the transition between when something is made by men in accordance with their vision and its ultimate return to the earth. For subjects of decay, technical perfection of the photograph is not always an asset. In fact, the opposite can be the case...

Sunday, 12 June 2011

A Well Made Thing Is A Thing Of Beauty

Nikkor TC-201 AI 2x Teleconverter

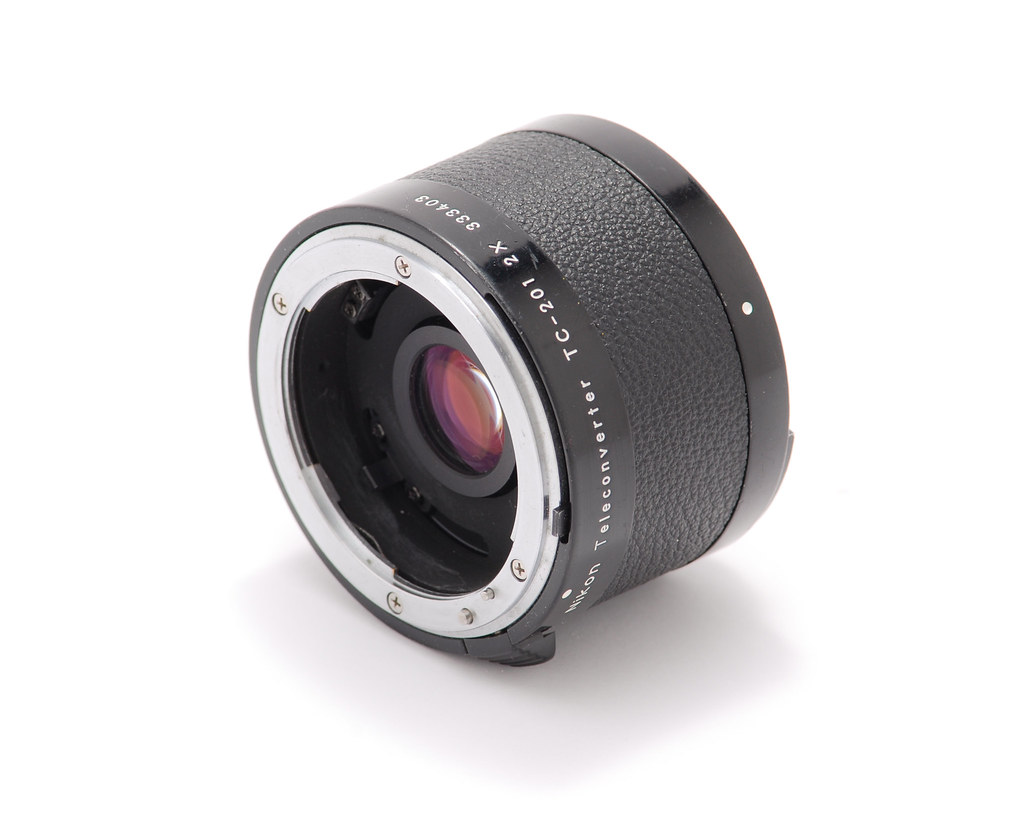
I had been taking pictures of Lise and Candy's cakes when I decided to shoot some of my photo gear with the same lighting. There is a particular beauty to a functional item that is made with care and precision. I think this photo of my teleconverter shows some of that.

Friday, 3 June 2011

Technical Article I: Advanced Negative Film Scanning

Coffee Pot and Space Gherkin

The following is an article I put together to sum up briefly what I have learned over the years about scanning negative film. The picture above is a picture I took on Kodak Ektar negative film with my Mamiya M645 medium format camera. I developed it and scanned it according to the techniques discussed in the article.

TITLE: Approaches to Scanning Negative Film

Chromes Are Easy


Slide film has always been admired for the impact it delivers. You take the shot - wham! A final result pops straight out of the development tank. Pop it in a viewer or projector and you are instantly transported to the scene where you took the photo!


Negative film is not like that.


Negative film is a lot like a digital RAW file. The potential is there to make a number of different artistic interpretations of the scene you photographed but more work is left to you, the artist. Give the same RAW file to three different people and they will hand back three different JPEGs. The same goes for three scans of the same colour negative. And unlike slide film there is no "original" to hold up to a window and argue with the scanner operator about regarding accuracy of colour, contrast, etc...


So, who would want to shoot this beast we call colour negative film? Only people who:


  • Want lower film costs

  • Want to use local processing

  • Want to use locally available film

  • Want a HUGE amount of exposure (and therefore highlight and shadow) latitude

  • Want to use cameras with bad or no meters in changing lighting situations

  • Want to photograph in high-contrast lighting without HDR

  • Want maximum creative control


etc.


Taming the Beast


So, how do we tame this beast?


Let's say that although you want creative control you don't want to be dealing with a pile of jelly. Let's say that you are after some measure of control over how your negative film gets translated into a positive. What are your choices for solid "known starting points"?


Here are your main choices:


  • Use your scanner software's "negative film" setting

  • Use your scanner software's "positive film" setting and invert in your image editing program

  • Use your scanner software to scan as a linear positive and use some dedicated conversion software for the positive conversion


The Dreaded Orange Mask


If there is one aspect of colour negative film that strikes fear and uncertainty into the heart of (almost) every photographer it is that weird orange mask. Yes, the film clearly contains the inverse information of the scene. Bright is dark, yellow is blue and so forth. So far, this is like black and white negative film and easy to understand. However, with the addition of the orange mask the film becomes something that is very difficult to evaluate with the naked eye on a lightbox. Why, oh why oh why do they do that?


Why They Do That


Well, the best explanation I have ever read is here. However, every time I read that I understand it. A day later, however, I can never remember. Let me give you the big takeaway that will dispell a lot of needless confusion about negative film: THE MASK IS THERE TO ENSURE EVEN COLOUR BALANCE WHEN PRINTED OPTICALLY.


So, How Does This Help Us?


Confusion often leads to magical thinking and unfortunately you will see a lot of that in relation to different methods for scanning colour negatives. If you are confused about the fundamentals you will never feel sure about the reasons for your methods.


What this tells us is that when we scan, the red channel is the strongest colour on the film. Some in the dyes, some in the mask. The green channel will be less strong and the blue channel will be weakest.


The Important Part


Although we see the three colour channels at quite different strengths (and although this ratio varies from one emulsion to another) the film is designed so that if the exposures for all three channels are equalised then the final "print" will have a correct colour balance. For "print" you can read "scan".


The traditional way of doing this would have been to illuminate the print paper through the film using three primary colour lamps and varying the time for each primary to acheive a nuetral colour balance. If you took an unexposed frame and varied the exposure of each primary lamp source until it printed grey on your colour paper you would have found this ratio. If you used this ratio to print any frame on this roll that actually had an image you would expect true colour from that frame on your print.


Applying What We Know


So what needs to happen at the scanner level is for the ratio of the three primaries to be determined, the necessary exposure to be determined and the exposures set appropriately to capture as much detail as possible for each primary channel. This is the place where things often go wrong for a lot of people. Then channels need to be equalised in exposure, inverted and applied a gamma value (since the scanner sees in linear vs. photographic paper or our eyes seeing in log).


The "Negative Film" Option in Scanner Software


Typically the "negative film" option of scanner software guesses at this balance rather than measuring a piece of unexposed film since there typically isn't necessarily unexposed film in the selected scan area and the software takes a "frame-by-frame" view of the world. Instead, the software will look at the actual colour curves in the image and "guess" at the probable endpoints. In 95% of images this can work great. However, it also explains why two frames of the same subject on the same strip can come out with different casts when scanned this way.


The other way this can go wrong (depending on the software) is the clipping that can occur when the guesses at the endpoints are not conservative enough. A lot of software is notorious for this but I find that the current version of Nikon Scan (4.0.2) does a very good job most of the time. Vuescan has a feature where you can specify a section of base emulsion and let the software "memorise" the colour and opacity of the mask which allows the colour balance and exposure to be calculated once for a whole roll. This is a great feature but I do find the interface on Vuescan to be a bit of a train wreck so I must admit that although I own Vuescan I don't use it.


The "Positive Film" Option plus Manual Inversion


With the "positive film" option of the scanner software you make a tradeoff. On the one hand it is very unlikely that the software will clip any of the channels. On the other hand, it is scanning them all with equal exposure giving you an "orange" positive whilst at the same time applying a gamma (the same gamma) to all the (at this point un-equalised) colour channels. What this leaves you with is a rather difficult beast to work with in Photoshop or whatever.


The two biggest problems are that you have thrown away a whole bunch of potential sensor resolution on the two weaker colour channels. In "negative film" mode the scanner software is generally smart enough to equalise the exposure for each channel. In "positive film" mode the channels are assumed to be of equal strength.


In this workflow you would make your scan. You would open the orange-looking scan in Photoshop (or similar) balance the image initially by setting endpoints at each end of each colour channel. You would then invert the image and you would have something close but because the gammas were applied (by the scanner software) before the channels were equalised the gammas are now different for each primary so you would then tweak the colour curve for each channel by eye until the image looked neutral.


The Linear Scan and Dedicated Software Option


This is where I currently find myself and where a lot of others do as well. There are still some pitfalls here.


The first pitfall is working out how to equalise the exposure for the primary colour channels without clipping. The second is working out what method to use to convert the negative image to positive.


Equalising The Primary Channels


So far I have worked with Vuescan, Konica Minolta's scanner software for the Dimage Scan Dual IV and Nikon Scan. All of these programs let you set the gain for each colour channel independently. It may be in different places and called different things (Nikon Scan calls it "analogue gain") but it will be there somewhere. What you want to do is give the green channel about a stop more exposure than the red channel and the blue about half a stop again more than the green. You don't need to get this exact so you can eyeball it from the histograms and the preview. Doing this will ensure you get the scanner's full dynamic range on all three colours. The exposure difference is actually done by the scanner exposing the film to the different colours for longer or shorter durations during the scan. Just like in optical printing!


When you are doing this you will want enough exposure to come close to white in the brightest portions but leave yourself some buffer. You don't want to clip. In Nikon Scan if you leave the "Master Gain" set to zero and use "Auto Expose" the software should keep you from any clipping.


ColorPerfect Plugin


ColorPerfect Plugin


ColorPerfect make an extremely good product with only a few drawbacks. One is that it works as a plugin for Photoshop. If you don't have Photoshop and can't afford it (like me) then it also can be used with another image editor called PhotoLine which works with some Photoshop plugins.


ColorPerfect is capable of some very advanced image processing but the interface certainly takes some getting used to. I struggled for some time with the default conversions which often looked great but seemed much grainier than the results from Nikon Scan's "negative film" mode. I found that I was a bit happier after I made the black and white point thresholds more conservative. ColorPerfect has presets for just about every film emulsion, even modern ones. For example, they currently have a preset for the new Protra 400.


negfix8 Script


negfix8 script


negfix8 is a fairly simple bash shell script that uses the free ImageMagik libraries and is what I currently use. Unlike ColorPerfect the script has only one purpose and that is to find the correct endpoints for all three colour channels and the invert it and set an initial gamma. It also normalises the result making it a suitable source image for further processing. All of the other options basically have a goal of producing a near final image. I like the conservative and consistent result of the negfix8 script which in essence resembles optical printing in its simplicity.


Pros and Cons


In researching for this article I ended up doing some comparitave conversions on some difficult images. In the process I learned a bit more about the comparative merits of these options.


negfix8 is great for just safely converting everything in a batch. It is a script so it is very easy to just point it at a folder full of scans. It won't mess anything up because it is set not to clip and it doesn't try to do anything clever. If you love to do most of your work in Lightroom or Aperture you will really like negfix8. Also, you don't need any other software (apart from the free ImageMagik libraries).


ColorPerfect, however, really can get the best out of the images that it works well with. It is a piece of software you have to watch, however, precisely because it does try to be clever. Watch out, particularly, with low contrast images which it will try to stretch to full contrast. Also watch for images with nothing very dark in them which it will again stretch the contrast on to make the darkest parts black. And the controls are not the easiest to figure out.


Having said all of that ColorPerfect can work real magic with many images. It will give you people that really look like people. It is fantastic at removing colour casts. It will give you a consistent tone right across the image from the shadows to the highlights. The hits you get out of ColorPerfect will be big hits. Just expect to have to learn its quirks.


Oh, and it's a plugin so if you don't have Photoshop you will have to get a program that takes Photoshop plugins. I use a shareware one called PhotoLine.
Sunday, 29 May 2011

Where There's Muck There's Brass

Medium Villa and Lorry with Star Velvia

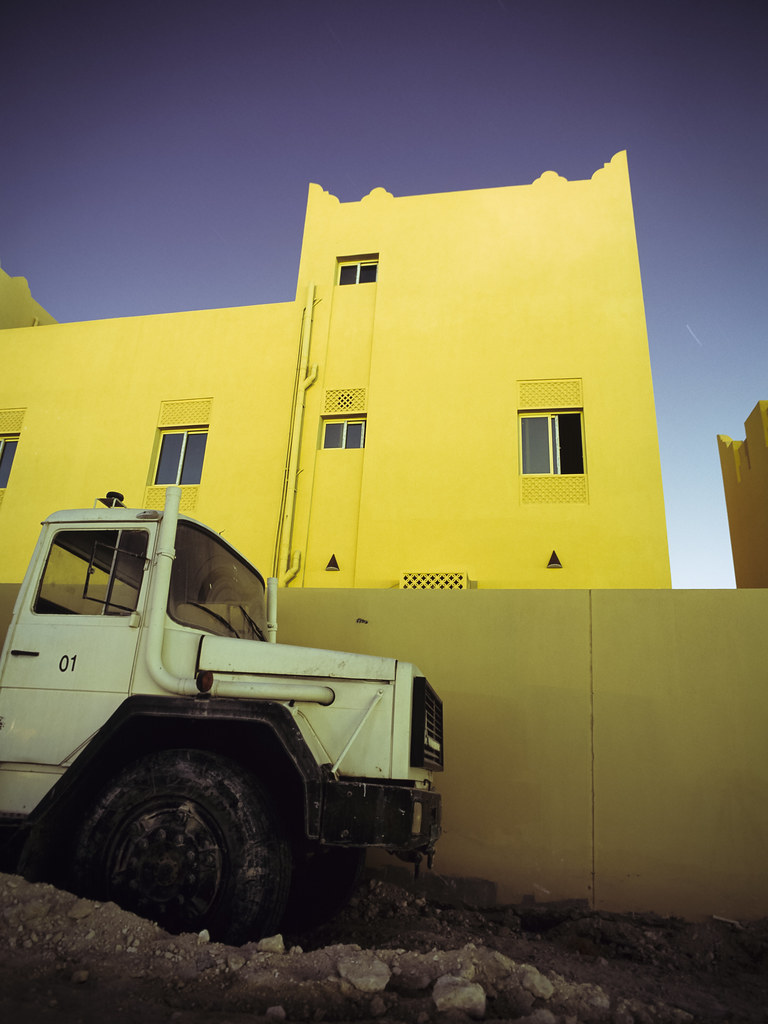
This is an eight minute exposure. It was very dark where I took this. It was the middle of a wasteland with nothing but dirt, an old truck and a typical new Doha compound of villas. I had noticed, however, that the truck was a nice shape and the light (what there was of it) was of a nice quality. The only remaining thing was to walk around and find the right composition.

See A New Earth

Medium Assembly Point Velvia

Isaiah 65:17: For behold, I create new heavens and a new earth; And the former shall not be remembered or come to mind.

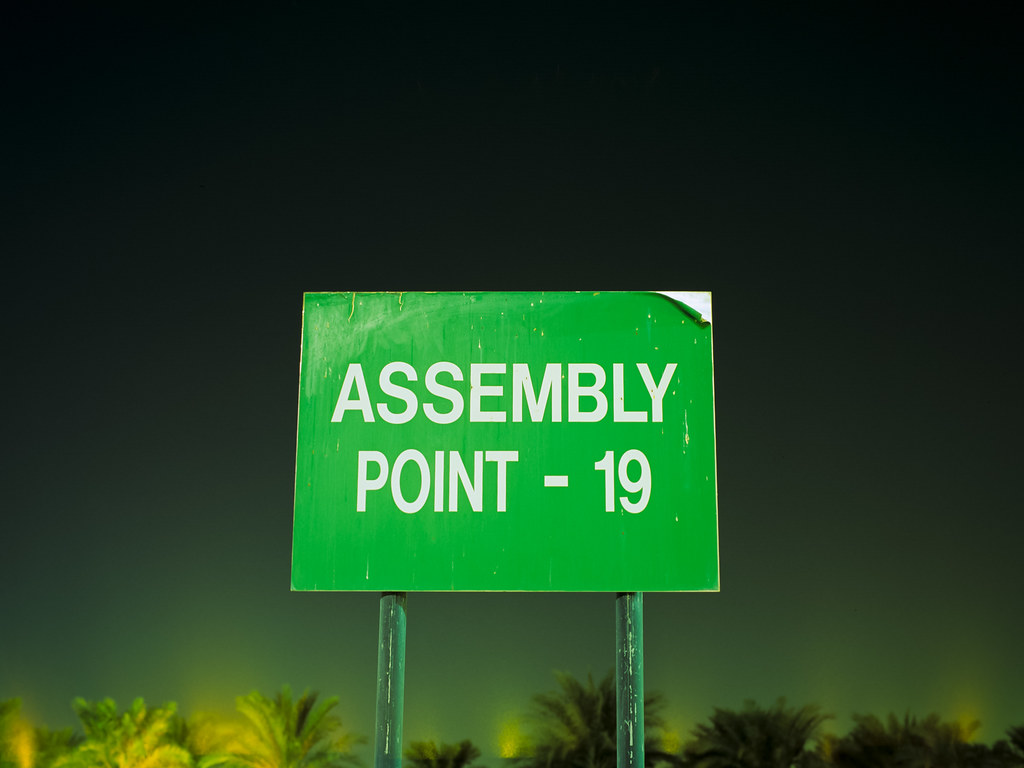
The secret to making new interesting pictures in old familiar places is being able to see old things as new.

This is a sign I pass twice every single day I go to work or leave it. But this day, God let me see it in a new way.

Turn Around, Bright Eyes

Medium Zekreet Soft Purple Bush Dream Velvia

This was taken at about the same time as the "Burning Bush" photograph and was the result of some very good advice I always try to take. When there is something stunning in the sky, look behind you. There may be something quite different and equally stunning the other side.

Wednesday, 18 May 2011

Expect Amazing

Medium Zekreet Velvia The Burning Bush

This is currently my most popular photo on Flickr at the moment, according to their "interestingness" ranking system. I took it during a photo outing with friends on a very rickety cheap tripod less than a minute after breaking mine.

I call it, the burning bush.